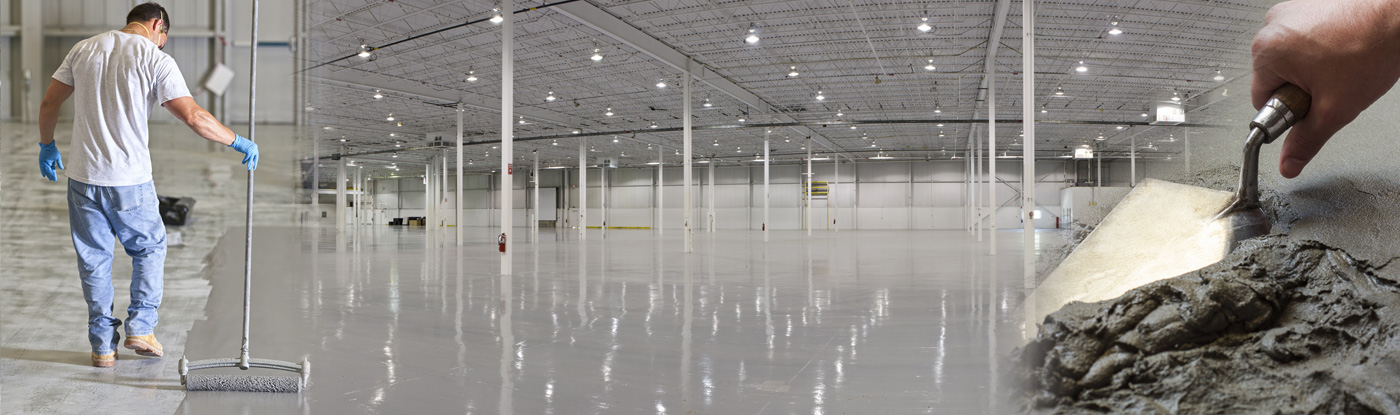
Repair Concrete Cracks
The following general steps using KwikBond’s concrete repair product will guide you in the repair of cracks in concrete in commercial buildings using such a product.
Always refer to the product’s instructions manual to confirm the specific steps. This guide will cover the basic principles, but some products may require additional steps or precautions.
Tools and Materials Needed:
- KwikBond’s Kwik-Bond Concrete Repair Product
- Wire brush
- Vacuum or blower
- Trowel or putty knife
- Protective gloves
- Safety glasses
- Concrete sealer (optional)
Steps:
Step 1: Safety First
Always start by putting on your safety gear. This includes protective gloves and safety glasses.
Step 2: Inspect the Cracked Area
Before you start, inspect the cracked area. This will help you determine the amount of Kwik-Bond product you will need. If the crack is larger than what is recommended for the product, you may need to consult a professional.
Step 3: Clean the Crack
Using the wire brush, scrape away any loose concrete, debris, or dirt in the crack and its surrounding area. It’s essential to clean the area thoroughly to ensure the repair product bonds well to the concrete.
Step 4: Remove Dust
Once you’ve brushed away the loose materials, remove all dust from the crack. You can use a vacuum or a blower for this. The aim is to ensure the repair product sticks properly to the concrete surface.
Step 5: Prepare the Kwik-Bond Product
Follow the manufacturer’s instructions on preparing the Kwik-Bond product. This usually involves mixing the product until you reach a uniform consistency.
Step 6: Apply the Kwik-Bond Product
Using a trowel or putty knife, apply the Kwik-Bond product into the crack. Be sure to push the product into the crack to fill it fully and remove any air pockets.
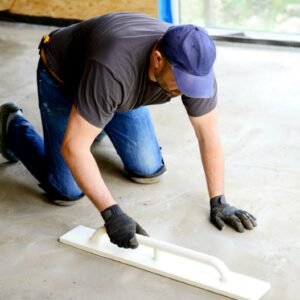
Step 7: Level the Surface
After the crack is filled, use your trowel or putty knife to level the surface. It’s essential to ensure the repaired area matches the rest of the concrete surface.
Step 8: Let it Cure
Allow the repair to cure according to the manufacturer’s instructions. The curing time may vary depending on the product, the thickness of the application, and the environmental conditions.
Step 9: Apply Concrete Sealer (Optional)
If desired and recommended by the manufacturer, apply a concrete sealer to the repaired area once the Kwik-Bond product has fully cured. This will help protect the repair and prolong its lifespan.
Step 10: Clean Up
Clean all your tools and dispose of any waste according to your local regulations.
Remember that concrete repair is not a permanent solution and cracks may reappear over time due to structural movement or other issues. Regular inspections and maintenance are crucial in commercial buildings to ensure their structural integrity.
Reach out to us at (631) 298-6300 to discover more about KwikBond’s Kwik-Bond concrete repair product, ensuring repair for your concrete surfaces in your commercial building.