Low-Temperature Concrete Floor Repair with Kwik-Flex
KwikBond’s Guide to Preparing and Applying Kwik-Flex for Low-Temperature Concrete Floor Repair

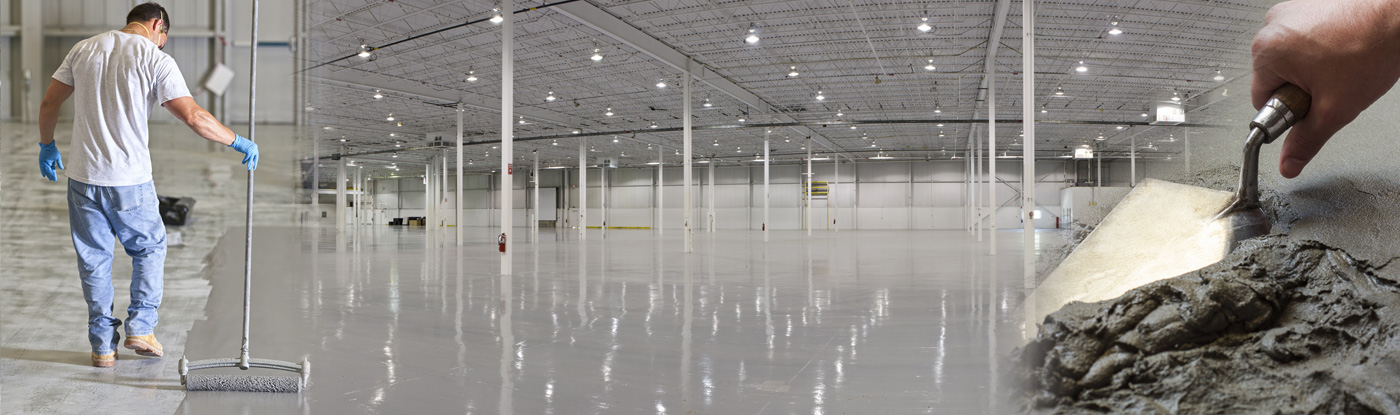
Cold temperatures can present challenges when repairing concrete floors. KwikBond’s Kwik-Flex is a specially formulated repair solution designed to cure effectively in low-temperature environments. Follow this step-by-step guide to prepare and apply Kwik-Flex for low-temperature concrete floor repair.
Materials and Tools You’ll Need:
- Kwik-Flex (amount based on the area’s size and damage extent)
- Broom or vacuum cleaner
- Hammer and chisel
- Power washer or garden hose
- Concrete cleaner or degreaser
- Stiff-bristled brush
- Trowel or squeegee
- Mixing container
- Water
- Protective gloves and eyewear
Step 1: Clean the Area
Sweep or vacuum the concrete floor to remove dust, debris, and loose particles. A clean surface is essential for proper adhesion between Kwik-Flex and the existing concrete.
Step 2: Remove Damaged Concrete
Using a hammer and chisel, carefully remove any loose or damaged concrete surrounding the area that needs repair. This will allow the Kwik-Flex to bond more effectively to the existing surface.
Step 3: Wash the Surface
Thoroughly clean the surface with a power washer or garden hose, removing dirt and contaminants. Apply a concrete cleaner or degreaser to eliminate any oil, grease, or stubborn stains, scrubbing the area with a stiff-bristled brush.
Step 4: Allow Surface to Dry
Ensure the concrete surface is completely dry before proceeding. Moisture in the concrete can affect the adhesion and curing of the Kwik-Flex.
Step 5: Mix Kwik-Flex Components
Following the manufacturer’s instructions, combine the Kwik-Flex components in the appropriate mixing container. Mix until a smooth, lump-free consistency is achieved. Be sure to wear protective gloves and eyewear during this process.
Step 6: Apply Kwik-Flex
Using a trowel or squeegee, apply Kwik-Flex to the damaged areas, ensuring an even layer that fills all voids and gaps. Make sure the Kwik-Flex is flush with the surrounding concrete surface for a seamless appearance.
Step 7: Smooth the Surface
Smooth the Kwik-Flex using the trowel or squeegee, ensuring a consistent and level surface. Remove any excess material from the edges.
Step 8: Cure the Kwik-Flex
Allow the Kwik-Flex to cure according to the manufacturer’s instructions. Keep in mind that curing time may vary depending on factors such as temperature, humidity, and the thickness of the application.
Step 9: Inspect the Repair
Once the Kwik-Flex has fully cured, inspect the repair for any imperfections. If necessary, sand or grind the surface to achieve a uniform appearance. Your low-temperature concrete floor is now restored and ready for use!
You’ll Love Our Versatile Concrete Repair Products
By following this step-by-step guide, you can effectively repair low-temperature concrete floors using KwikBond’s Kwik-Flex. Enjoy a safer, more attractive surface that’s built to last with KwikBond’s high-quality, easy-to-use repair solution, even in cold environments.
Contact KwikBond at (631) 298-6300 to learn more about how FP-300 restores the integrity and appearance of your concrete surfaces with confidence and durability.