Repair Expansion Joint Cracks
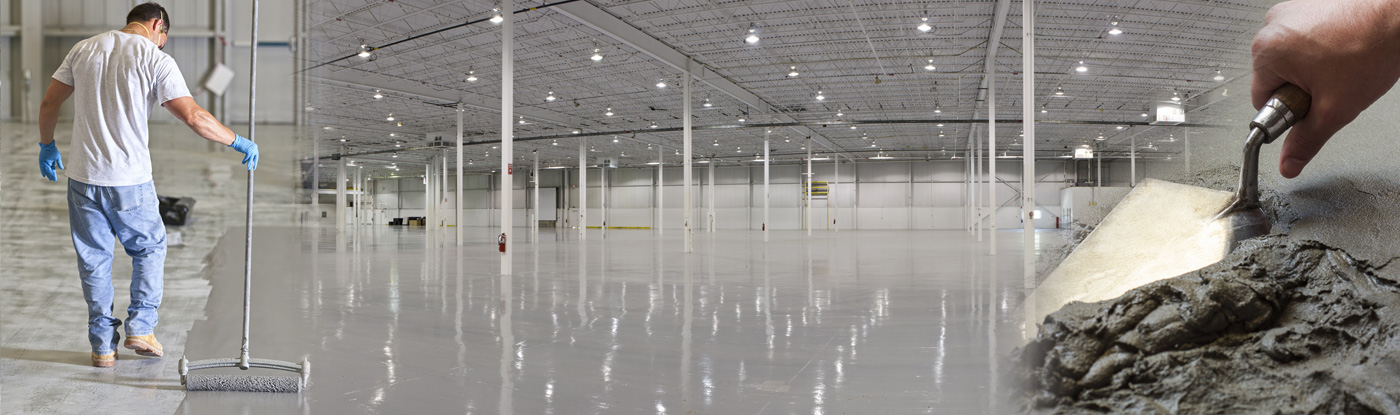
Repairing expansion joint cracks can be daunting if you’re unfamiliar with the process. However, using a joint expansion concrete repair product like KwikBond’s PolyFlex, makes the task easy, even for beginners.
Here is a step-by-step guide to help you understand how to use a joint expansion concrete repair product like PolyFlex.
Materials Needed:
 KwikBond’s PolyFlex Sealant
Caulking Gun
Wire Brush or Angle Grinder
Vacuum or Air Blower
Clean Rags or Paper Towels
Safety Glasses and Gloves
Step 1: Safety First
When beginning a repair project, you should always start by putting on safety glasses and gloves. When you are working with PolyFlex sealant, these safety devices will assist protect your eyes and hands from any potential risks that may arise.
Step 2: Inspect the Crack
The next step is to evaluate the severity of the crack; sometimes, they are little and simple to fix, while other times, they are more widespread and demand a greater amount of effort to fix. Additionally, this will provide you with a more accurate estimation of the quantity of PolyFlex sealant that is required.
Step 3: Clean the Crack
Use a wire brush or an angle grinder to clean out the crack and remove any loose concrete, dirt, or old sealant. A clean crack will allow the joint expansion concrete repair product to bond properly with the concrete itself.
Step 4: Remove Dust
After cleaning the crack, use a vacuum or air blower to remove dust. This will further ensure a clean surface for the PolyFlex to adhere to. If even the smallest amount of dust remains, the sealant won’t be able to adhere properly, which will require repair further down the road.
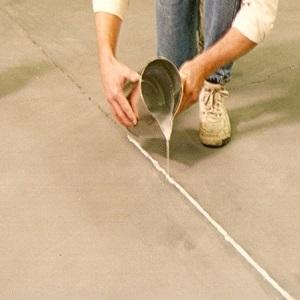
Step 5: Apply PolyFlex
Load your caulking gun with KwikBond’s PolyFlex. Begin at one end and slowly move along the length of the crack while squeezing the trigger to apply the sealant. Be sure to fill the crack completely.
Step 6: Smooth the Sealant
Using a flat tool or your gloved finger, smooth the sealant. This ensures it fills the crack and is level with the surface. Wipe away any excess sealant with a clean rag or paper towel.
Step 7: Allow to Cure
Allow the PolyFlex to cure. Refer to the product’s instructions for the recommended curing time. During this period, keep the treated area clear of traffic.
Step 8: Inspect Your Work
Once the PolyFlex is fully cured, inspect your work. The repaired crack should be tightly sealed and level with the rest of the surface.
That’s it! You’ve successfully repaired an expansion joint crack using KwikBond’s PolyFlex. Regular maintenance of your concrete structures and quick repairs of cracks can prolong their lifespan and prevent further damage.
If you have any questions or need further assistance, don’t hesitate to contact our team at KwikBond. We’re here to provide expert advice and support on all your thermal management and repair needs. Remember, for high-quality, reliable, and efficient heat sink thermal management solutions or a joint expansion concrete repair product like PolyFlex, trust the experts at KwikBond.
Contact KwikBond at (631) 298-6300.