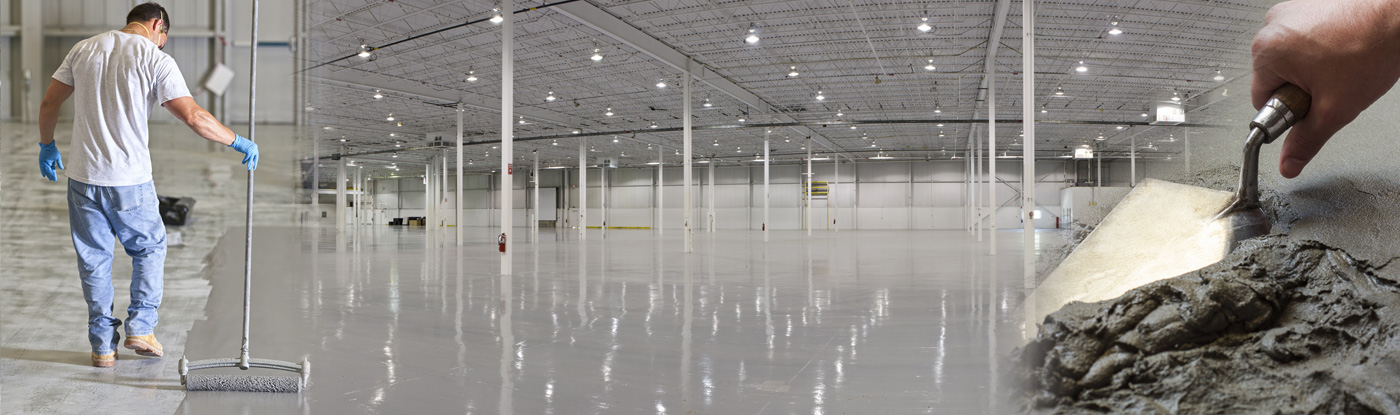
Benefits of Epoxy and Polyurethane Cement Crack Repair Products
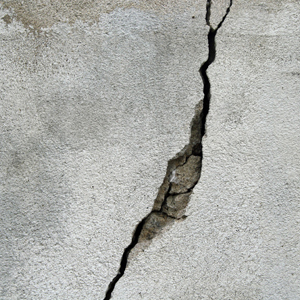 There are various reasons why you may want to repair cracked concrete. But regardless of whether you want to fix cracks for aesthetic reasons or to extend the life of the concrete, you should begin with knowing exactly what concrete floor repair products to use that will help with your project.
The products you use to repair your concrete should depend on its condition, but it’s also important to use quality products so you don’t find yourself with a new problem or a related one to the one you started with. Choosing the right concrete repair products can ensure your concrete looks good and lasts for many years. In this article, we’ll explain concrete repair using epoxy.
Epoxy for Cracked Concrete
If you’re dealing with hairline or wide cracks, epoxy injection is a great repair method that will restore concrete to its original structural strength.
Pros:
- • structural restoration
- • high bond strength, higher than concrete
- • excellent choice for dry surfaces
- • can be applied on most interior and exterior surfaces
Cons:
- • ineffective against moving foundations
- • bond strength drastically decreases when applied on wet surfaces
- • higher cost than urethanes
Preparation
1.Before beginning the repair process, you must determine the cause of the cracking. If you neglect this step, it is likely that you will face cracking soon after the repair. There are a variety of cracks and finding the different ones affecting your flooring will help eliminate the source of the cracks.
2.Once you’ve identified the cause of the crack, and you’ve determined that injection is an adequate solution, it’s time to prepare the cracked surface for product application.
3.Liquid and contaminants drastically reduce the effectiveness of the epoxy mix, so, before you begin, work on cleaning the surface of the crack. One of the best ways to do this is with tools like compressed air since it will easily remove debris, stagnant water, or dust. Alternatively, you can use a vacuum or an acceptable cleaning solution.
Sealing
Once the cause of the cracks have been identified and the surfaces are cleaned and dry, it’s time to seal the cracks. This step is important since it ensures the epoxy doesn’t leak from the cracks. To seal a surface, use a sealer, such as an epoxy, polyester, or other sealing material suited for concrete, and wait for it to solidify.
Injection
Start injecting at the lowest port and continue until the epoxy begins to overflow out of the port above it since this signifies that the crack filler has leveled the crack. Plug the first port and continue on to the next port, then the next, and so on until caulking the complete crack with epoxy. Wait 24-48 hours at room temperature before removing the injection ports.
Capital Industries, Inc. is a leading supplier of commercial and industrial concrete repair products. For over 30 years, we have proudly serviced contractors, factories, warehouses and distribution centers for industrial, institutional and commercial customers. We carry a full range of concrete repair materials, including those specifically designed for low temperature areas such as freezers and coolers. Our floor repair products are rapid hardening, allowing you to reopen repaired areas with minimal downtime. All of our products are designed to be used by in-house maintenance personnel and come with an ironclad 100% guarantee of satisfaction.